🗺️ Mind maps for learning a lesson: a step-by-step guide for parents
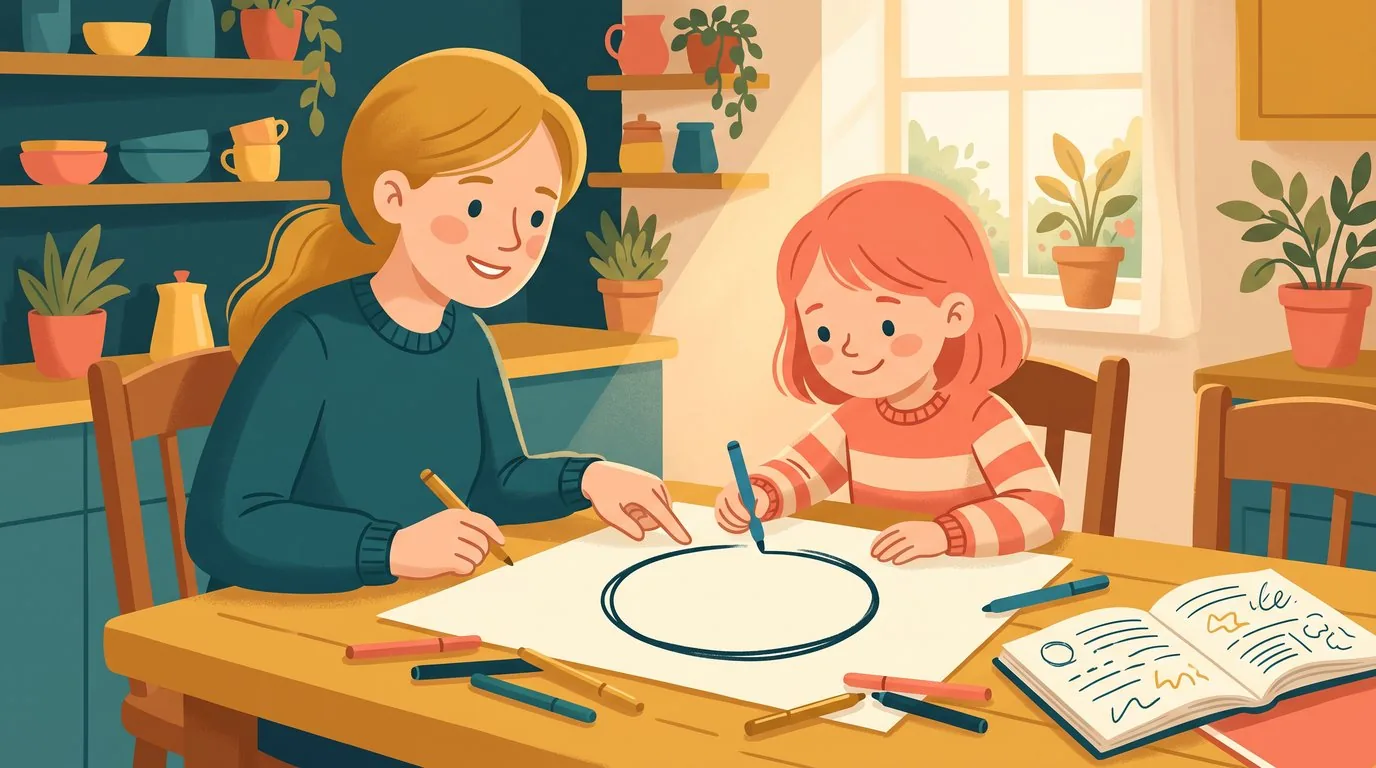
It's 6:30 pm, the science lesson fills a dense page, and your child is reading it for the fourth time without remembering a thing. Just rereading isn't enough: the words pass by, but nothing sticks.
A mind map solves exactly this problem. It turns a page of notes into a drawing your child creates themselves — and it's precisely because they make it that they remember. Here’s how to do it as a parent: the steps, a full CM1 example, the age it works from, and when a good old revision card is still better.
What’s the point of a mind map for learning a lesson?
A mind map is a sheet of paper placed landscape, the lesson topic in the centre, and colourful branches all around, one for each main idea. It’s also called a carte heuristique, and in English a mind map — a format popularised in the 1970s by the British author Tony Buzan. Many teachers now use them in class, from primary school to lycée.
Its value for memorising a lesson comes down to three easy-to-check points:
- The structure becomes visible. On a page of notes, everything looks the same. On a mind map, you instantly see the three main ideas and how everything connects.
- A keyword replaces a sentence. To pick that word, your child has to understand. This sorting is what really helps, much more than the final drawing.
- The lesson becomes an image. A colour, a position, a quick sketch: all extra hooks to help recall later.
Don’t expect miracles: like any memory technique, a mind map won’t make you learn by itself. It helps organise, then practise. Our article on learning a lesson by heart explains the next step: active recall.
How to make a mind map: 6 steps
Allow twenty minutes the first time, then about ten. Use an A4 or A3 sheet turned landscape, four or five different coloured pens, and the open exercise book beside you.
- Title in the centre. Draw a circle, write just two or three words — the exact lesson title — and, if your child likes, a small drawing inside.
- Spot the main ideas. Read through the lesson together, looking for subheadings and bold words. Ideally 3 to 5: more than that and the map gets messy.
- Draw the main branches. One per main idea, thick, curved, and most importantly one colour per branch: this makes the structure stand out.
- One keyword per branch. Write it along the branch, not at the end, and in capitals for quick reading. One word, two at most.
- Add smaller branches. Details, examples, and dates branch off, using the same colour as their main branch.
- Draw. A tiny sketch for each branch — even if it’s rough or simple. This is what your child will spot first in a test.
A mind map fits on a single page. If it overflows, the lesson probably covers two topics: make two maps.
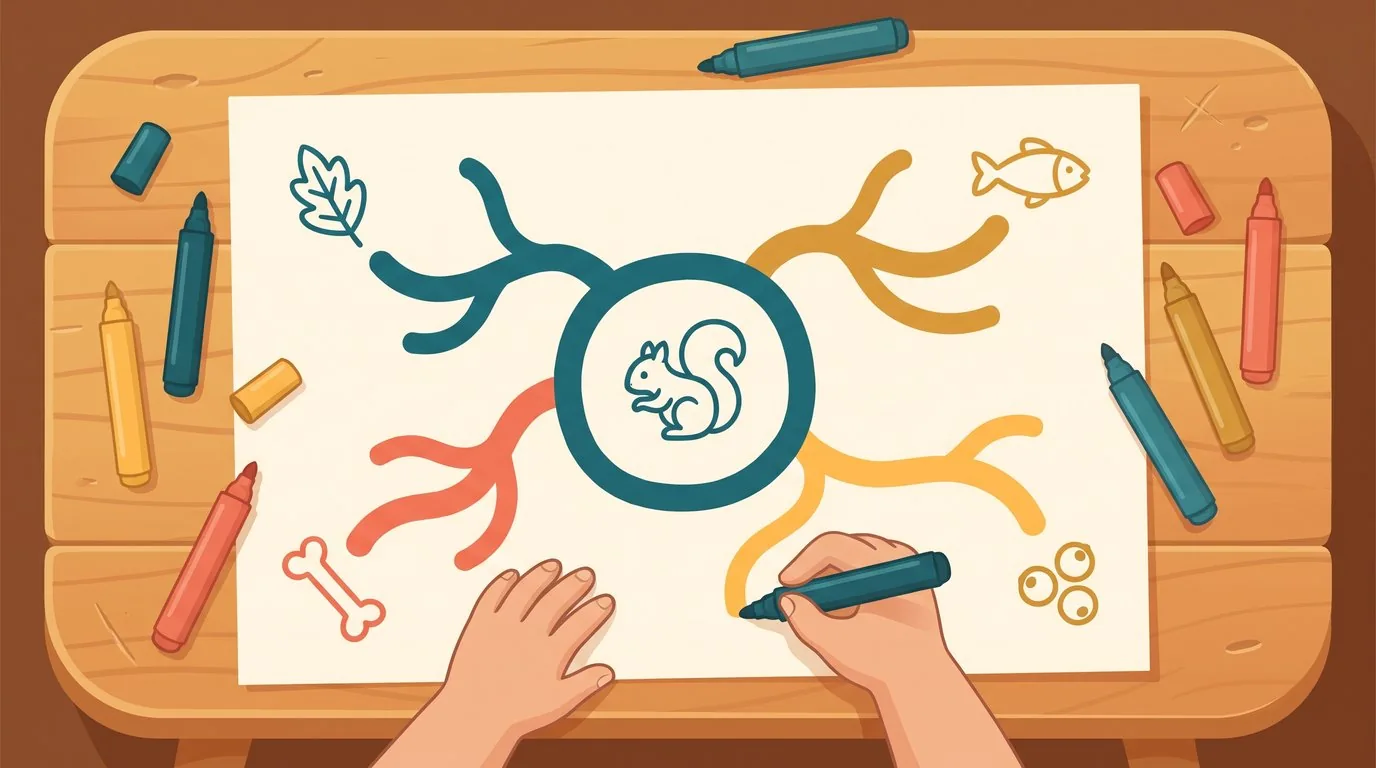
Example: a mind map for a CM1 science lesson
Let’s take a typical CM1 science lesson: animal diets. In the centre: “régimes alimentaires”, with an animal drawn in the circle. Three main branches are enough.
- Green branch — HERBIVORES. Smaller branches: “mange des plantes”, “vache, lapin, chenille”, and a sketch of a leaf.
- Red branch — CARNIVORES. Smaller branches: “mange des animaux”, “renard, chouette, brochet”, a sketch of a bone or fishbone.
- Yellow branch — OMNIVORES. Smaller branches: “les deux”, “ours, sanglier, humain”, a sketch of berries.
Fifteen minutes later, the lesson fits on one page and your child knows where to look: “the fox was on the red branch”. The same approach works in history (one branch per period), geography (one branch per environment), or grammar (one branch per word class). For lessons full of dates, our method for remembering history dates works really well alongside mind maps.
Mind maps in CM2 and collège: same idea, two levels of branches
Same idea, with two tweaks: allow up to 5 branches and two levels of detail, and add a “to memorise” branch (formulas, dates, definitions) for your child to revise separately.
From what age do mind maps work?
It’s not about age but about writing fluency. If forming letters is still hard work, a mind map just feels like extra copying.
- CP and CE1: drawing only. The parent writes the keywords, the child colours and draws. Three branches max.
- CE2: first real try, together, on a short lesson.
- CM1 and CM2: the ideal age. After two or three maps with help, your child can do them alone.
- Collège: the tool really pays off, especially in history and SVT.
One thing to know before insisting: not every child finds mind maps helpful. Children who remember best by listening often prefer to recite aloud. Our article on children’s visual and auditory memory can help you spot what works for yours.
Mind map or revision card: which to choose?
The two tools are for different stages. Here’s how to decide in ten seconds.
| Criteria | Mind map | Revision card |
|---|---|---|
| Best for | Understanding the structure of a lesson, linking ideas | Remembering lists, definitions, exact formulas |
| Subjects | Science, history, geography, grammar | Conjugation, vocabulary, tables, dates, spelling |
| Time to make | 15 to 20 minutes | 5 to 10 minutes |
| How to revise | At a glance, or by recreating it from memory | By covering the answer, one question at a time |
| Limitation | Impossible to read if the lesson is too long or detailed | Doesn’t show how ideas are connected |
In practice, the best combination is often: a mind map to understand the big picture, plus a small card for the facts to memorise. Kidibook Memory Tricks play this second role: they gather the tips and key points to remember, already condensed, while your child focuses on their mind map.
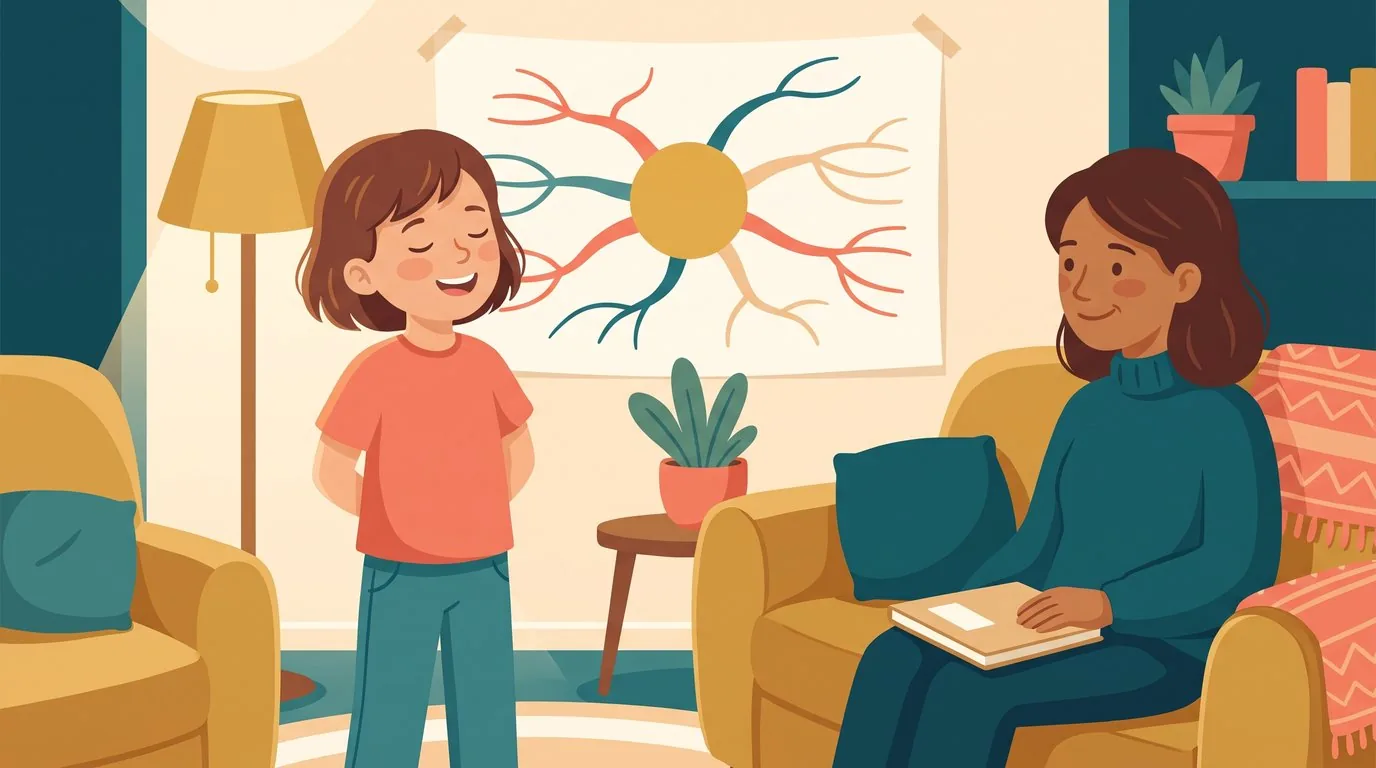
Paper or screen: what’s best for a mind map?
In primary, paper almost always wins. Drawing by hand is slow, and that slowness is part of the process: it gives time to think. Software tends to keep children busy choosing fonts and frames.
All you really need fits in one line: an A3 sheet (or an A4 turned sideways), four bold-coloured felt tips, and a pencil. Digital tools come in handy later, at collège, when maps get bigger and you want to edit them without starting over.
The 5 mistakes that make a mind map useless
A failed map isn’t an ugly map: it’s one that doesn’t help with revision. Five common pitfalls keep cropping up.
- Copying out whole sentences. That’s just the lesson, but prettier—no sorting, so no memorising.
- Only one colour. Black removes the visual cues that make the format so effective.
- Too many branches. More than five main branches and nothing sticks.
- Making the map for your child. The parent learns the lesson, the child just watches.
- Putting the map away and never looking at it again. A map should be reread the night before, then again on the morning of the test—that’s when it pays off.
Last-minute revision or learning spread over the week: start small, with just one lesson and one map, this weekend. If your child picks up the felt tip again for the next lesson, you’ve found a tool for the next ten years. And to keep up the habit between maps, the printable Kidibook workbooks offer a short page a day, for each level, with no prep needed.
Want to put these tips into practice?
Every day, a new adventure workbook adapted to your child's school level — to print or do on screen. No commitment.
Your questions
So what exactly is a mind map?
It’s a diagram that organises a lesson around a central word: the topic goes in the middle of the page, then coloured branches spread out—one for each main idea—with a keyword and sometimes a small drawing on each. It’s also called a concept map, or mind map in English. The aim isn’t to make it pretty, but to make the lesson’s structure instantly visible.
From what age can a child make a mind map?
In practice, from CE2 (age 8-9), and really confidently in CM1-CM2, once writing is easy. Before that, you keep the idea but adapt: in CP-CE1, the parent writes the keywords and the child colours and draws, with a maximum of three branches. Being comfortable with writing matters more than the age on the calendar.
Mind map or revision card: which to choose?
Use a mind map to understand and link the ideas in a science, history or geography lesson; a card for memorising exactly—conjugation, vocabulary, dates, formulas. The two work really well together: a map for the whole lesson, a small card for the list you need to know word for word.
How can I help my child make their first mind map?
Sit next to them, but let them hold the felt tip. Your job is to ask questions: “What’s the title of the lesson?”, “Which branch does this go on?”. Pick a short lesson for this first try, stick to three branches, and accept that the result won’t be perfect: the second map will be better. One sheet and four felt tips are enough—no software needed.
Read next
 Revision techniques
Does your child refuse to revise? 7 methods that really work
Refusal, tears, arguments? Discover 7 parent-approved ways to help your child revise without drama: short sessions, rit…
 Revision techniques
The phonics method for learning to read: why it’s making a comeback
Phonics for learning to read: how it differs from the whole-word approach, what official guidelines say…
 Revision techniques
Boosting your child’s concentration: 10 practical strategies at home
How to improve your child’s focus: realistic attention spans by level, 10 strategies to try tonight, and the warning sig…