📐 Geometry CE2: what your child learns and how you can help
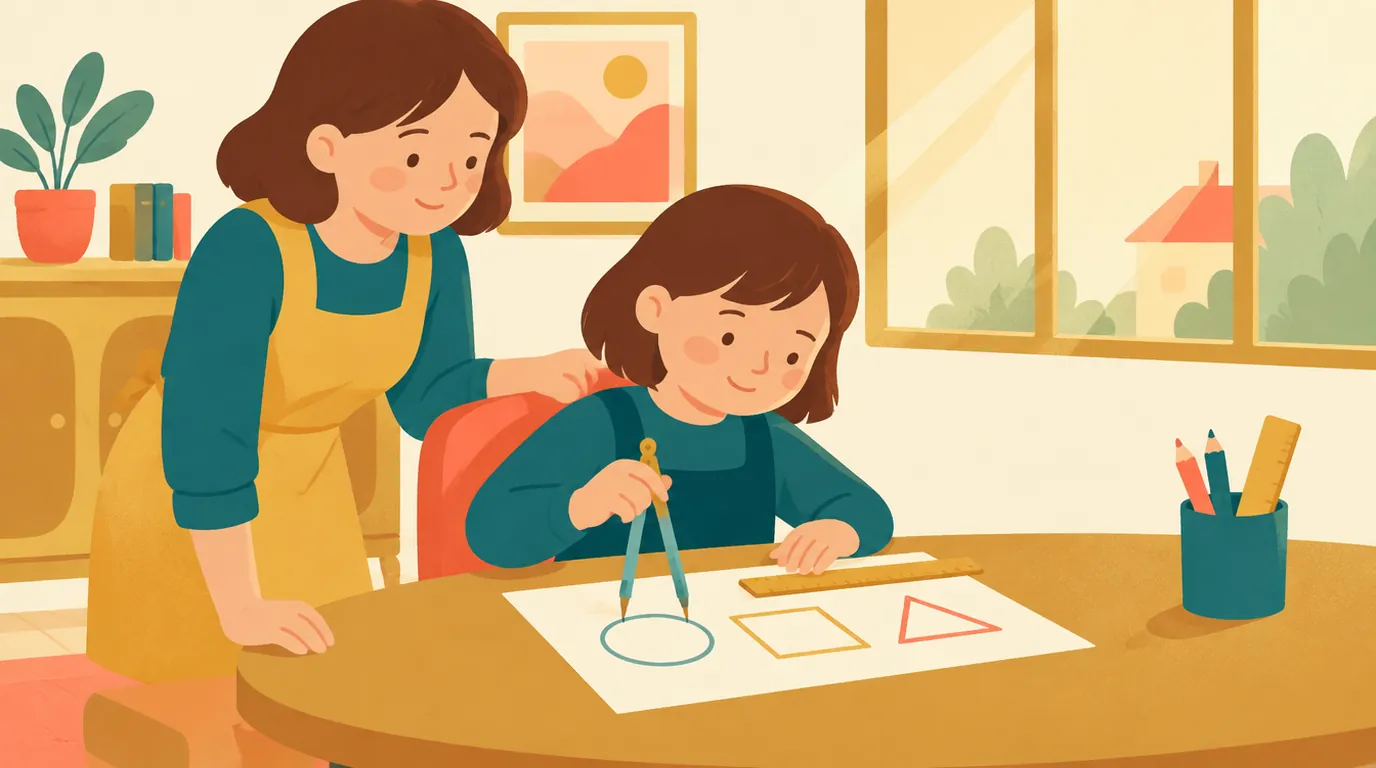
In CE2 geometry, your child’s exercise book fills up with ruler-straight lines, little squares in the corners, and circles of all shapes and sizes. Behind these pages are some key concepts: recognising and naming shapes, spotting right angles, checking if points are in line, completing a symmetrical figure, and above all, using instruments correctly.
Geometry is a real advantage for parents: it’s hands-on and you can use everyday objects around the house. You don’t need to know all the textbook terms to help. Here’s what your child will be working on this year, what they need to be able to do, and some simple activities to support them—without turning your living room into a classroom.
What’s covered in geometry in CE2
CE2 marks the end of the fundamental learning cycle. In geometry, your child moves from “that looks like a square” to “it is a square because all four sides are equal and all four angles are right angles”. It’s no longer just about recognising by sight, but about checking with a tool. Here are the main topics for the year, with a simple activity for each to try at home.
| Concept | What your child learns to do | At home |
|---|---|---|
| Plane shapes | Recognise and name squares, rectangles, triangles, right-angled triangles, circles; use the words side and vertex | Look for rectangles and circles in the kitchen |
| Solids | Recognise cubes, rectangular prisms, pyramids, cylinders, cones, spheres; count faces, edges and vertices | Sort boxes and packaging from the cupboard |
| Right angle | Spot and draw a right angle using a set square or a homemade template | Make a template by folding a piece of paper |
| Alignment | Check if points are in line, find the midpoint of a segment | Line up bottle tops with a stretched piece of string |
| Symmetry | Find a line of symmetry by folding, complete a figure on squared paper | Cut out shapes from folded paper |
| Instruments | Use a ruler, set square and compass accurately | Draw a circle with a given radius |
Not all classes move at the same pace: use this table as a guide, not a timetable. Your child’s exercise book and the work they bring home will show you what the class is working on.
Plane shapes and solids
In CE2, plane shapes are described with precise words. A side is a straight line that forms the edge of a shape; a vertex is where two sides meet. With this vocabulary, your child can describe:
- the square: four sides of equal length and four right angles;
- the rectangle: four right angles, and opposite sides of equal length;
- the triangle: three sides, three vertices; and the right-angled triangle, which has one right angle;
- the circle: all its points are the same distance from a point called the centre; this distance is called the radius.
One thing often surprises children: a square is also a rectangle—a special rectangle where all four sides are equal. Let your child check with the rectangle definition: the square fits all the criteria.
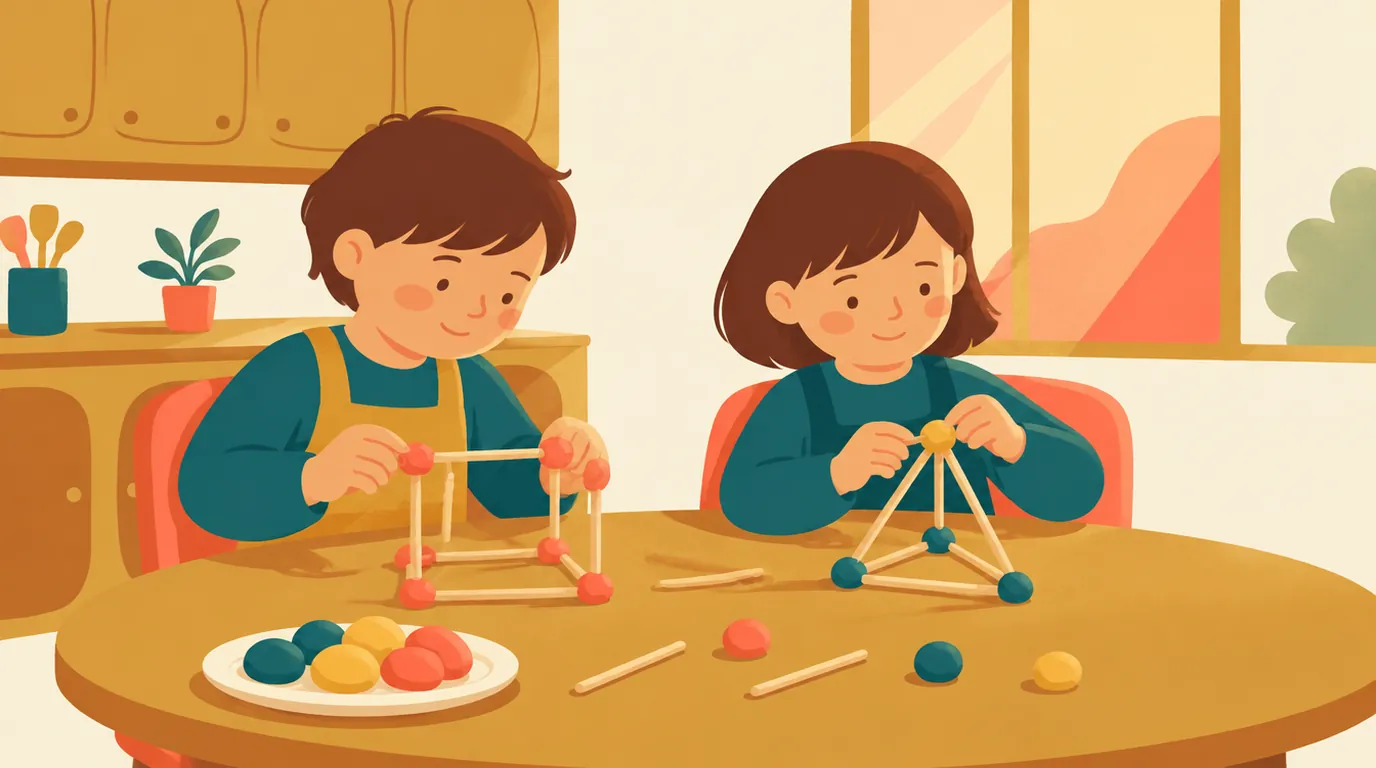
When it comes to solids, nothing beats real objects. A dice is a cube: 6 square faces, 12 edges, 8 vertices. A shoebox is a rectangular prism, also with 6 faces, 12 edges and 8 vertices, but with rectangular faces. A tin can looks like a cylinder, an ice cream cone is a cone, and a ball is a sphere. Building these shapes with sticks and modelling clay makes edges and vertices very clear: each stick is an edge, each ball of clay is a vertex. For a cube, you’ll need 12 sticks and 8 balls.
The right angle: set square and homemade template
The right angle is the star of the year. It’s the angle in the corner of a sheet of paper, a book, or a tile. Your child learns to recognise it, check it with a set square, and draw it. In diagrams, it’s shown by a small square in the corner.
No set square at home? Make a template. Take any piece of paper, fold it once, then fold it again so the edge of the fold lines up exactly with itself. The corner you get is a perfect right angle. Your child can then go on a hunt: table corners, door frames, TV screens, window panes. And when a corner “looks” right, check it—our eyes are often fooled.
You can also compare angles to a right angle: “smaller” or “larger”. The technical words for these angles will come later. And the clock is a great way to practise: at 3 o’clock and 9 o’clock, the hands form a right angle. A good chance to review our method for learning to tell the time.
Alignment and the Midpoint of a Line Segment
Points are aligned when you can connect them all with a single straight line. In CE2 (age 8-9), you check this with a ruler: place it on two of the points and see if the others also touch the edge. Your eyes can be deceived, but the ruler never is.
At home, line up bottle tops, counters or pebbles on the table, then stretch a piece of string to check. Move one bottle top by a centimetre: it's no longer in line, and the string shows it straight away.
The midpoint of a segment is the point that divides it into two equal parts. There are two ways to find it: measure and divide by two (the midpoint of an 8 cm segment is 4 cm from each end), or, using tracing paper, fold so the two ends meet. The fold marks the exact middle.
Symmetry: Folding, Cutting, Completing
A shape is symmetrical if you can fold it in half and the two sides match up exactly. The fold is called the axis of symmetry. It's the most hands-on concept of the year, and often a favourite with children.
To explore symmetry, simply fold a sheet of paper in half, draw half a shape along the fold (half a heart, half a tree, half a butterfly), cut it out and unfold. The resulting shape is symmetrical, and the fold is its axis.
Capital letters make a great symmetry game. A, M and T have a vertical axis; B, C and E have a horizontal axis; H and O have two axes. F, L, P and R have none. Your child can check each one by placing a small mirror along the supposed axis.
In class, a typical exercise is to complete a shape on squared paper. The method: for each corner, count how many squares it is from the axis, then mark the same number of squares on the other side. Then connect the new points.
Tools: Ruler, Set Square and Compass
A lot of success in geometry comes down to how your child handles their tools. Here are a few habits to check together:
- The ruler: always measure from the zero, not the edge of the ruler. Many rulers have a small gap before the 0 mark—this is enough to throw off your measurement by a few millimetres.
- The set square: only use the right-angled corner, placing one side of the set square firmly along the line you've already drawn.
- The compass: hold it by the top, between thumb and forefinger, and turn in one smooth motion. The distance between the point and the pencil is the radius. For a circle with a 3 cm radius, set the compass to 3 cm on the ruler; the resulting circle will be 6 cm across through the centre, as the diameter is twice the radius.
- The pencil: keep it sharp, with a fine point. A thick line throws off all your measurements.
The compass is also used to copy a length: set it to the length of a segment, then use it elsewhere to reproduce exactly the same length. This is very handy for copying a shape without a marked ruler.
Geometry Activities to Try at Home
Ten minutes is enough, once or twice a week. Here are some ideas that need no special equipment:
- Shape hunt: in a room, find three rectangles, two circles and a triangle, then check the right angles with the template.
- Building solids: make a cube, then a rectangular prism, using sticks and modelling clay, and count the edges and corners.
- Drawing dictation: you describe a shape (“a 4 cm square, with a circle whose centre is in the middle”), your child draws it without seeing the model. Then swap roles.
- Symmetrical butterfly: paint on one half of a sheet, fold, then unfold. The axis appears clearly.
- Table perimeter: measure each side and add them up. This is the very first step towards understanding perimeter, which you'll formalise later with the rectangle perimeter formula.
This last activity leads on to the next step: after measuring the perimeter, you'll learn how to measure area, which is explained in our article on the area of a rectangle. For extra practice on paper, our printable CE2 exercises offer short worksheets, and our CE2 magic colouring gives a fun break that still reinforces learning. Finally, to help remember the vocabulary (vertex, side, radius, axis), the Kidibook Memory Tricks gather handy tips you can review in seconds.
Want to put these tips into practice?
Every day, a new adventure workbook adapted to your child's school level — to print or do on screen. No commitment.
Your Questions
Which geometry tools should I buy for CE2?
A 20 or 30 cm ruler, a set square and a simple compass are enough, along with a well-sharpened pencil and an eraser. For the compass, choose a sturdy model that won't slip open while drawing. Always follow your child's teacher's list.
How can I check a right angle without a set square?
Fold a sheet of paper in half, then fold it again so the edge of the first fold lines up with itself. The resulting corner is a right angle, which you can place in the angle you want to check. The corner of a new sheet of paper works too.
My child struggles with symmetry—what can I do?
Go back to folding and cutting: a shape cut from folded paper gives a clear, hands-on idea of what an axis is. On squared paper, have your child count the squares to the axis out loud for each point. A small mirror placed on the axis is also a great way to check the result.
Are perimeter and area part of the CE2 curriculum?
In CE2, children measure lengths and start to calculate the perimeter of a shape by adding its sides. Area and its formula are mainly covered later, towards the end of primary school. But there's nothing stopping a curious child from counting squares now.
Read next
 Revision methods
The syllabic method for learning to read: why it’s making a comeback
Syllabic reading method: how it differs from the whole-word approach, and what the official guidelines say…
 Revision techniques
The Pomodoro method for children: revising in 10-minute bursts
The Pomodoro method for children: ideal session length by level, which timer to use, and a sample homework session…
 Revision techniques
Mind maps: a helpful way for your child to learn
Mind mapping for parents: how to create one with your child, a practical lesson example, and useful tips…