🗺️ Mind maps: a simple way to help your child learn
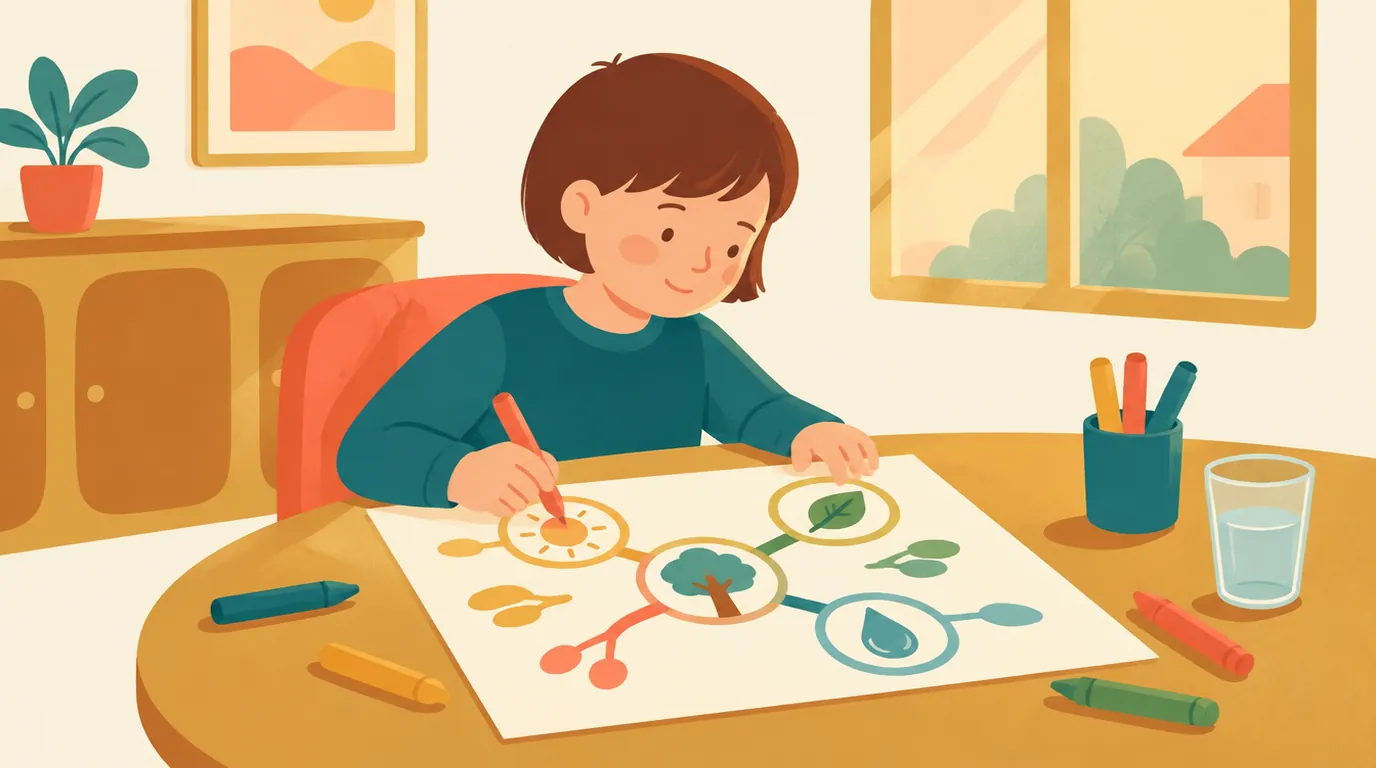
A mind map is that big, colourful drawing your child sometimes brings home from school, looking more like a tree than a lesson. But behind its playful appearance lies a real learning technique: instead of copying out a lesson line by line, you reorganise it around a central idea, using keywords and pictures.
Good news for you: you don’t need any special software or artistic skills. Just a sheet of paper, three felt-tip pens and fifteen minutes. Here’s how to explain the method to your child, make your first map together this evening, and know which lessons it’s really worth using for.
What exactly is a mind map?
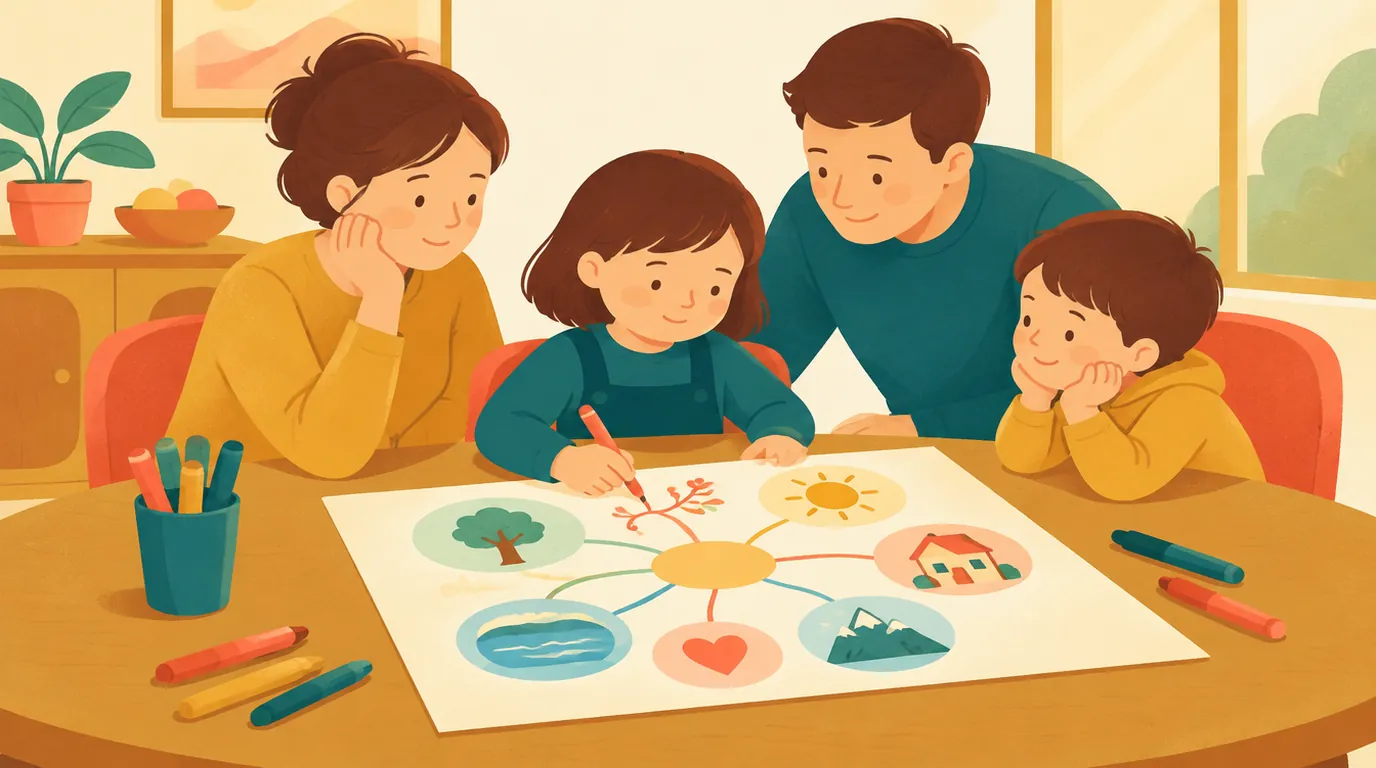
It’s a diagram that starts in the centre of the page. In the middle, you put the topic of the lesson, often with a little drawing. From this centre, a few thick branches spread out, one for each main idea. Each big branch then splits into thinner ones for the details. You end up with something that looks like a tree from above, or a sun with rays.
The method was popularised in the 1970s by the British author Tony Buzan, under the English name mind map. In France, you’ll also hear « carte mentale »: it’s the same thing. Some teachers use it in class to build a lesson together, others suggest it as a revision tool.
Why is it useful for children? Three main reasons:
- It encourages sorting. You can’t copy whole sentences onto a branch: you have to pick out the key word. This sorting is already a step towards understanding.
- It shows connections. Everything linked to the same idea is grouped on the same branch, in the same colour.
- It’s easy to see at a glance. The whole lesson fits on one page, and your child knows exactly where to find each bit of information.
Making your first mind map together: step by step
For the first time, do it together: your child holds the pens, and you ask the questions. Choose a short lesson that’s already been covered in class, rather than a whole chapter.
- Lay the paper landscape (horizontally). This gives the branches space on each side.
- In the centre, the topic: one or two words, circled, with a simple drawing. It doesn’t need to be perfect, just recognisable.
- Draw three to five main branches, one for each big idea in the lesson. Ask: “What is this lesson about, in three or four parts?” Often, the subheadings in the exercise book give you the answer.
- One colour per branch. Everything coming off the red branch stays red. This makes the map easy to read.
- One word per branch, written along the line. If your child wants to write a sentence, help them find the word that sums it up.
- Add details on thinner branches, and a small icon where it helps: a sun, a drop, an arrow.
Allow about fifteen minutes for your first map. The next ones will be much quicker, and your child will soon be able to do them alone.
A real-life example: the water lesson
Let’s take a common science lesson in CE2 or CM1: the states of water. In the exercise book, it’s a page of text. As a mind map, it looks like this:
- In the centre: “L’EAU”, with a drop drawn next to it.
- Blue branch, “3 states”: solid (ice, with a drawing of an ice cube), liquid (tap water), gas (steam, three little wavy lines).
- Green branch, “changes”: melting (ice melts), freezing (water turns to ice), evaporation (water becomes steam), condensation (steam turns back to liquid, like mist on a window).
- Red branch, “temperatures”: 0 °C, water freezes or ice melts; 100 °C, water boils.
- Orange branch, “cycle”: sea, evaporation, cloud, rain, river, and back to the sea, with a looping arrow.
Four branches, about twenty words, a few drawings: the whole lesson is there. To revise, your child covers the map, tries to redraw it from memory, then checks. Whatever’s missing is what needs more work.
Which mind map for your child’s age?
You can’t expect the same from a child in CP as from one in CM2. Here are some tips to adapt the method without discouraging your child.
| Level | What your child can do | Number of branches | Your role |
|---|---|---|---|
| CP – CE1 | Draw more than write: one icon per branch, a few simple words | 2–3 | You write the words, your child draws and colours |
| CE2 – CM1 | Write a keyword per branch, add details | 3–4 | You ask the questions, your child picks the words |
| CM2 – 6e | Building a whole lesson map independently, with sub-branches | 4–6 | You read through and quiz your child with the map covered |
These are just guidelines: a child who loves drawing might move ahead sooner, while another may prefer simple maps for longer. What matters is that your child creates the map themselves. If you make the map and your child just reads it, most of the benefit is lost.
Mind map, revision card or sentence: which tool for which lesson?
A mind map isn’t a magic fix for everything. It really shines for lessons with several connected parts: a science topic, a chapter in history or geography, a grammar point with different cases, or preparing a presentation. It’s also very useful before writing, to help organise ideas.
For other types of content, a different tool works better:
- A list to remember in order: a mnemonic sentence using initials is more effective. That’s the idea behind the planet memory sentence, which you can also draw on a map with the Sun in the centre.
- A specific rule or definitions: a short revision card, with the rule and an example, is often more practical. We explain how to do this in our article on making a revision card.
- A poem or lesson to learn word for word: nothing beats spaced repetition, described step by step in our guide to learning by heart.
If your child remembers best by seeing things, a mind map could quickly become their favourite tool. If they remember more by hearing, get them to explain their map out loud: this combines both. To better understand how your child learns, read our article on visual and auditory memory in children.
Mistakes that make a mind map useless
- Too much text. Full sentences on the branches turn the map into a roundabout copy of the lesson, harder to read than the original.
- Too many branches. More than five or six main branches and the map becomes a jumble. Two clear maps are better than one messy one.
- The parent holding the pen. It’s tempting to speed things up, but your child learns by choosing their own words and drawings.
- Trying to make it look perfect. It’s not a work of art. A messy but understood map is far better than a flawless copy.
- Making it and never looking at it again. A map should be reread, covered up, and redrawn from memory. Pinned above the desk, it keeps working on its own.
One last tip: a mind map should be made in a short session. If your child gets bored quickly, break the task up with a timer, as in the Pomodoro method for children: main branches one evening, details the next. And when the map is finished, display it proudly—your child will often be keen to show what they’ve made.
Want to put these tips into practice?
Every day, a new adventure workbook adapted to your child's school level — to print or do on screen. No commitment.
Your questions
What’s the difference between a mind map and a concept map?
None: they’re two names for the same tool, known as a mind map in English. Some also call it a concept diagram. In every case, it’s about organising a lesson around a central idea, with branches and key words.
From what age can a child make a mind map?
From CP (age 6-7), as long as you focus on drawings and keep it to two or three branches. It’s mainly from CE2 (age 8-9) or CM1 (age 9-10), when writing becomes easier, that children can build a map with key words on their own.
Do you need software to make a mind map?
In primary, paper and felt-tips are more than enough. Drawing the branches by hand makes your child think about each word, which is part of the learning. Software can be useful later, in middle school, for presentations or very detailed maps.
My child doesn’t like drawing—are mind maps still for them?
Yes, drawings are just an extra: well-chosen key words and a colour code are enough. If your child really doesn’t enjoy it, a classic revision card or explaining out loud might suit them better—and that’s absolutely fine.
Read next
 Revision methods
The syllabic method for learning to read: why it’s making a comeback
Phonics Method for Learning to Read: how it differs from the whole-word approach, what official guidelines say, and…
 Revision methods
The Pomodoro Method for Children: Study in 10-Minute Bursts
The Pomodoro Technique for Kids: best block length by level, which timer to use, and a sample homework session…
 Revision methods
Mental Maths CM1: 7 Strategies and a 10-Minute Daily Routine
Mental Maths CM1: the 7 key strategies (breaking down, compensating, × 25…), worked examples, and a 10-minute daily routine.